Seed Bead Stretch Rings: A Stack of Three in Minutes
Three thin rings in size 8/0 seed beads on 0.5 mm elastic. Measure the finger with a paper strip, add the allowance for bead thickness and count the beads from a size table.
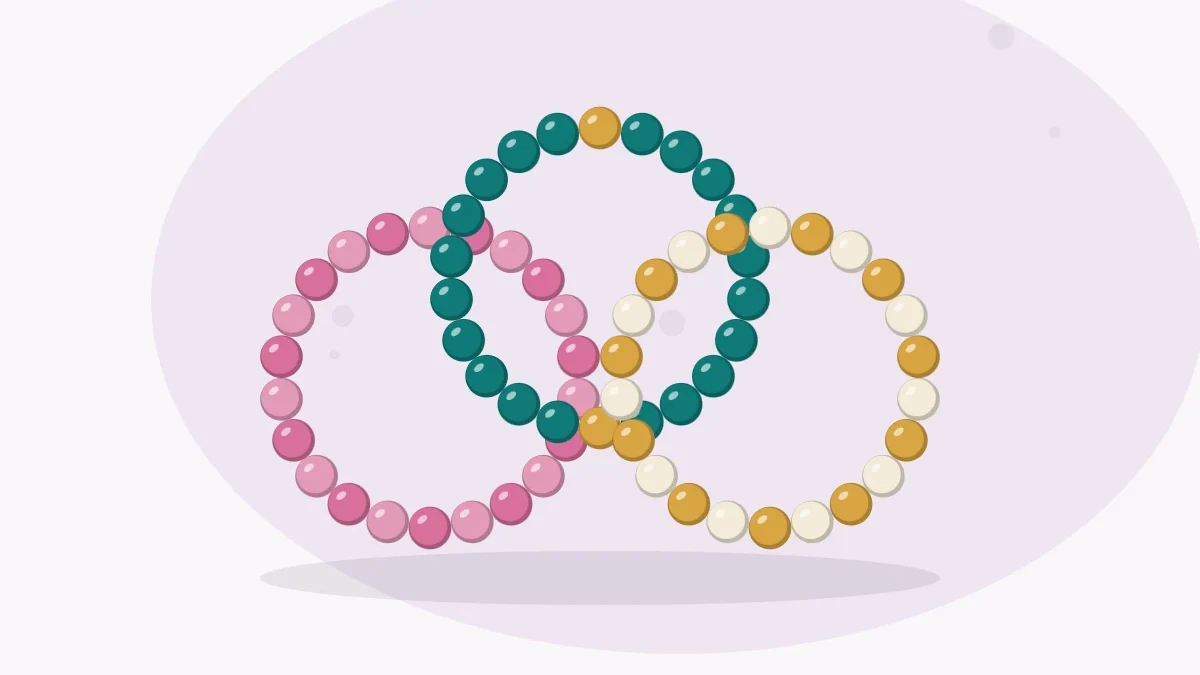
Tutorial at a glance
Materials
- About 66 to 75 size 8/0 seed beads in two or three colors, plus spares
- About 21 in (54 cm) of clear elastic cord, 0.5 mm, cut into three pieces
- Paper strip and pencil
- Ruler marked in millimeters
- Scissors, bead mat and tape
- Optional: flexible jewelry glue
A seed bead ring is about the smallest project in beading: roughly 22 beads, a few inches of elastic and one knot. Because each ring takes only minutes, it makes sense to string three at once in colors that go together and wear them as a stack. The one thing that needs attention is the fit.
What you need
For a stack of three rings in US size 7:
- About 66 to 75 size 8/0 seed beads in two or three colors, plus a pinch of spares (22 to 25 per ring)
- Clear elastic cord, 0.5 mm: three pieces of about 7 in (18 cm), so 21 in (54 cm) in total
- A strip of paper about 1/4 in (6 mm) wide and 4 in (10 cm) long, and a pencil
- A ruler marked in millimeters
- Scissors, a bead mat and a small piece of tape
- Optional: a small dot of flexible jewelry glue for each knot
The bead size guide explains why a bigger number means a smaller seed bead.
Measure the finger with a paper strip
- Wrap. Wind the paper strip around the base of the finger that will wear the rings. Keep it snug and flat.
- Mark. Draw a pencil line across the strip where the end overlaps.
- Check the knuckle. Slide the closed strip toward the fingertip. If it will not pass the knuckle, loosen it slightly and mark again. Elastic gives a little, but the ring still has to go over the widest point.
- Measure. Lay the strip along the ruler and read the distance from the end to the mark in millimeters. That is the finger circumference.
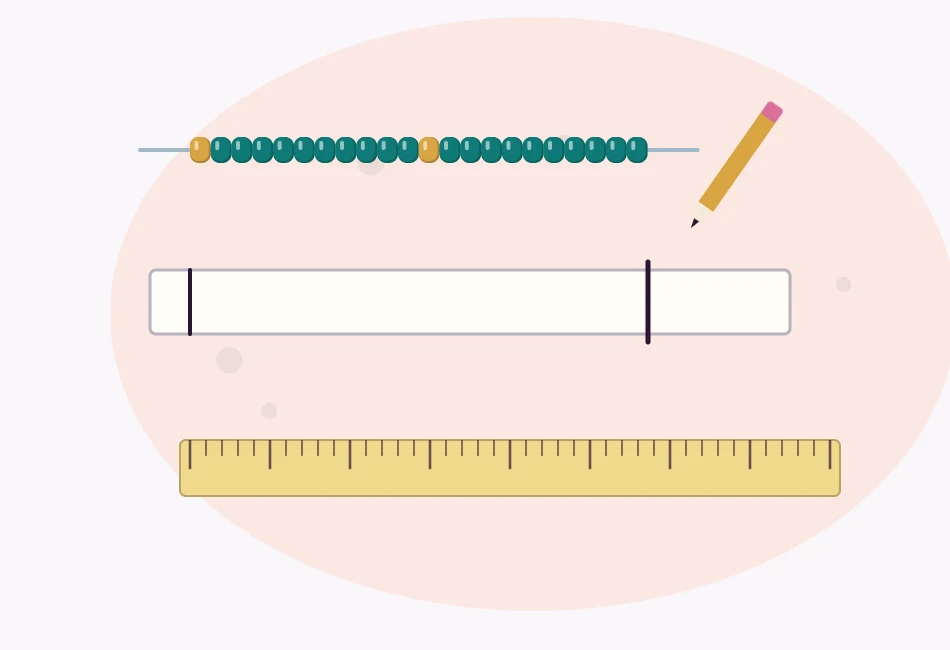
The same method is used for wrists and ankles in the guide on how to measure for jewelry. To convert a measurement to a size, compare it with a table of ring sizes.
Finished size and the bead count
A ring of beads is measured through the middle of the beads, but the finger only touches their inner edge. The strand therefore has to be longer than the finger circumference by about three times the bead thickness. Size 8/0 beads are about 3 mm thick, so the allowance is about 9 mm:
Strung length = finger circumference + about 9 mm.
For a US size 7, the inside circumference is about 54.4 mm. Add 9 mm and the strand should measure about 63 mm (2.5 in) around the closed circle. On a straight strand about 11 size 8/0 beads fill an inch, roughly 2.3 mm each. On a circle this small the beads fan out, so each takes up more: roughly 2.5 to 2.9 mm. 63 ÷ 2.9 = 21.7 and 63 ÷ 2.5 = 25.2, so expect 22 to 25 beads. Start with 22 and test.
| US ring size | Finger circumference | Strung length | Size 8/0 beads |
|---|---|---|---|
| 6 | 51.9 mm | About 61 mm (2.4 in) | 21 to 24 |
| 7 | 54.4 mm | About 63 mm (2.5 in) | 22 to 25 |
| 8 | 57.0 mm | About 66 mm (2.6 in) | 23 to 26 |
| 9 | 59.5 mm | About 68.5 mm (2.7 in) | 24 to 27 |
Watch out
Seed beads vary from maker to maker and even between colors. The table is only a starting point: slim beads need the higher counts, chunkier beads the lower ones. Always go by the test fit, not the count.
Plan the stack of three
Three rings look like a set when they share colors but differ in pattern. With 22 beads per ring, these three arrangements all close neatly:
- Solid: 22 beads of the main color.
- Alternating: 1 main, 1 second color, repeated 11 times. 11 × 2 = 22. This pattern needs an even count, so on a 23 or 25 bead ring two beads of the same color will meet at the knot.
- Accent pair: 10 second color, 1 metallic, 10 second color, 1 metallic. 10 + 1 + 10 + 1 = 22. The two metallic beads sit on opposite sides of the finger.
That stack uses 33 main-color beads, 31 of the second color and 2 metallic beads, 66 in all. The guide to bead color combinations helps with picking the shades.
Step by step
- Cut and pre-stretch. Cut about 7 in (18 cm) of elastic, which is the 2.5 in strand plus about 4.5 in for knotting. Pull it gently along its length a few times.
- Block one end. Fold a piece of tape over the cord about 2 in (5 cm) from one end.
- String the beads. Pick up 22 beads in the planned order. The cord is usually stiff enough to thread without a needle. Cut the tip at a slant if it frays.
- Check the strand. Laid straight with the beads touching, 22 beads measure only about 2 in (51 mm). That is expected: the 63 mm applies around the closed circle. Note the straight length so the other rings match.
- Test the fit before knotting. Pinch the two cord ends together right at the beads and slide the ring onto the finger. It should pass the knuckle with a light stretch and sit without leaving a groove. Add or remove one bead and test again if needed.
- Tie a surgeon’s knot. Remove the tape. Cross the ends and wrap one around the other twice, then pull until the beads meet with no gap. Cross and wrap once in the opposite direction and pull firmly.
- Secure and trim. Add a tiny dot of flexible glue to the knot if wanted and let it dry completely. Trim the tails to about 1/8 in (3 mm).
- Hide the knot. Ease the knot sideways into the hole of the bead next to it. If it will not go in, turn the knot toward the palm side of the finger.
- Repeat. Make the other two rings, laying each strand beside the first ring to match the length.
The knot is the same one used on larger pieces, and the guide to tying off a stretch bracelet shows each wrap.
If this happens, do that
- The ring spins and slides off. Remove one bead and retie. One bead changes the fit by about 2.5 to 3 mm, roughly one full ring size.
- The ring leaves a mark. It is too tight. Add one bead. A stack of three feels tighter than one ring alone, so test all three together.
Variations
For a finer band, use size 11/0 seed beads. They are about 2 mm thick, so the allowance drops to about 6 mm, and at 17 to 18 beads per inch a 60 mm (2.4 in) strand for a size 7 takes up to about 41 or 42 beads, often a few fewer; test the fit.
Seed beads are small parts: keep them away from young children and pets, and supervise children who are beading.
Frequently asked questions
How many seed beads does a ring need?
A US size 7 ring in size 8/0 seed beads takes about 22 to 25 beads. On a circle this small each bead fills roughly 2.5 to 2.9 mm, more than on a straight strand. Beads differ between makers, so start with 22 and test the fit before knotting.
Why is the strand longer than the finger measurement?
The strand is measured through the centers of the beads, while the finger touches their inner edge. Adding about three times the bead thickness, around 9 mm for size 8/0 beads, makes up the difference.
What elastic is used for seed bead rings?
Clear elastic cord of 0.5 mm suits size 8/0 seed beads. Cut about 7 in (18 cm) per ring so there is enough length to hold while tying a surgeon's knot.
How can a finger be measured without a ring sizer?
Wrap a narrow paper strip around the base of the finger, mark where it overlaps, check that the loop passes the knuckle, then measure the strip in millimeters. A size 7 is about 54.4 mm around.
