12 Common Beading Mistakes Beginners Make (and How to Fix Them)
Twelve beginner beading mistakes, from the wrong cord to flattened crimps and distorted jump rings, each with its cause and a practical fix.
Most beading mistakes are small, predictable and easy to fix once the cause is clear. A bracelet that snaps, a clasp that falls off or a strand that sits stiffly on the wrist can nearly always be traced to one of the twelve habits below. Each entry gives the cause and the fix, grouped by the stage of the project where it happens.
Planning mistakes
1. Choosing the wrong cord for the bead hole
Cause: buying cord and beads separately without testing them together. Cord that is too thick will not pass; cord that is too thin lets beads wobble and saws against the hole edges.
Fix: match diameter to bead: 0.5 mm elastic for seed beads, 0.7 to 0.8 mm for 6 to 8 mm beads, 1 mm for large, heavy beads. Thread the cord through several beads before cutting, because holes vary within a batch.
2. Measuring without adding ease
Cause: stringing to the exact wrist measurement. The beads take up room inside the circle, so the piece ends up too tight.
Fix: add about three times the bead diameter. A 6.25 in wrist with 6 mm beads needs 6.25 + 0.75 = 7 in (178 mm), which is about 30 beads. With 8 mm beads, add 1 in instead.
3. Skipping the layout
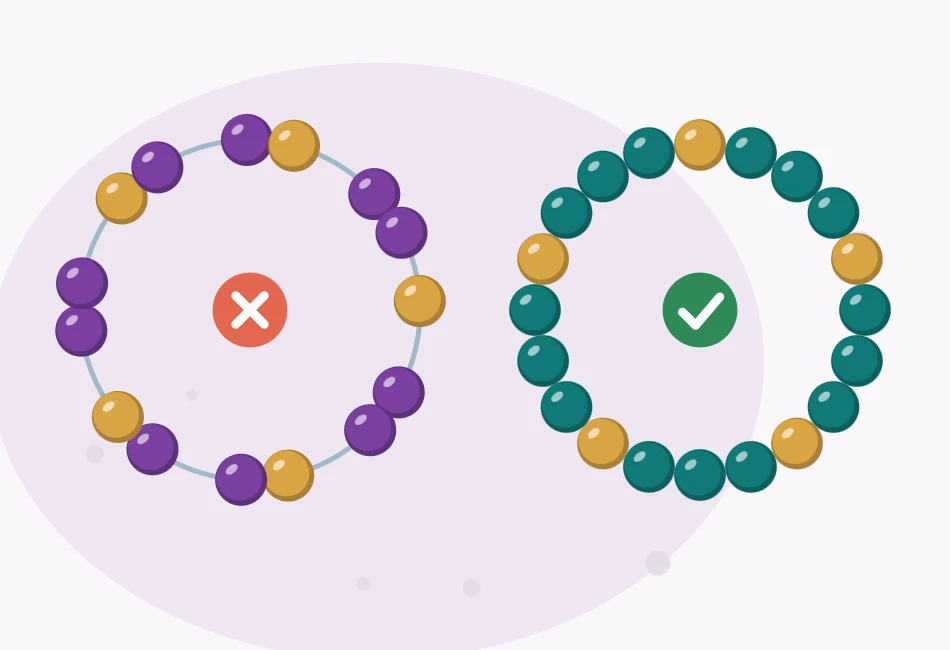
Cause: stringing straight from the bag and designing along the way. The pattern drifts, or the beads run out before the repeat is complete.
Fix: lay every bead in order on a bead mat first. Check that the pattern closes neatly where the two ends meet, and adjust before anything is on the cord.
4. Mixing bead sizes by accident
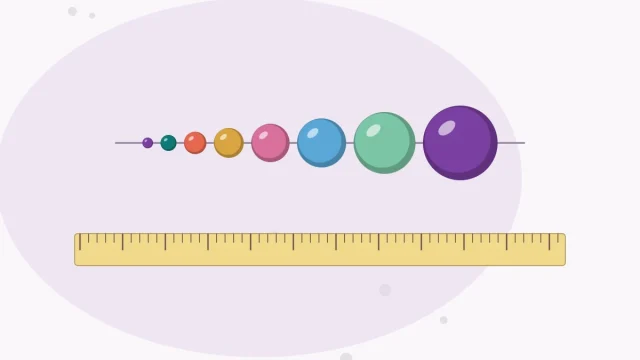
Cause: similar beads stored together. A few 8 mm beads in a strand of 6 mm, or size 11/0 seed beads among size 8/0, make the piece look uneven and change its length.
Fix: keep sizes in separate labeled containers, and scan the layout at eye level before stringing. Odd sizes stand out in a straight row.
Stringing mistakes
5. Not pre-stretching elastic
Cause: new elastic relaxes a little the first few times it is pulled. If that happens after the knot is tied, gaps open between the beads.
Fix: hold the cut cord at both ends and pull it firmly several times before stringing. Then string and tie as usual.
6. Stringing too tight or too loose
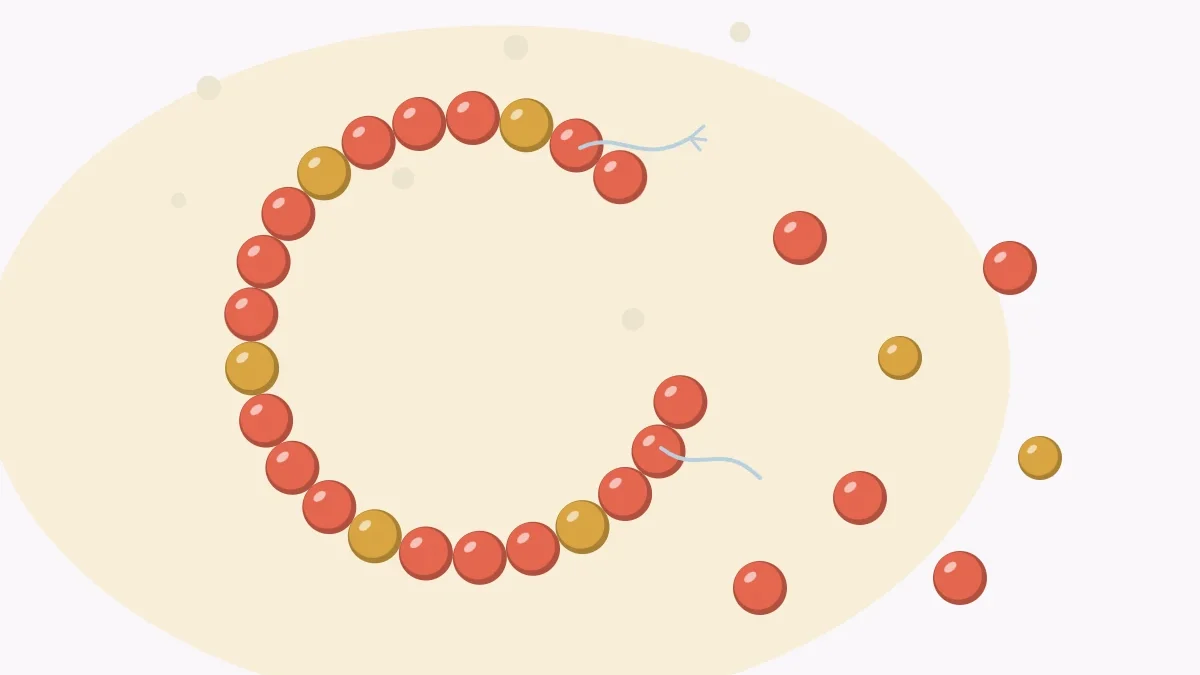
Cause: on beading wire, pushing the beads hard together before crimping leaves no room for the strand to curve, so it stands stiff and strains the wire. On elastic, tying with the cord stretched puckers the bracelet, while tying with slack leaves cord showing.
Fix: on wire, curve the strand into its worn shape and leave a hair’s width of slack before closing the last crimp. On elastic, draw the beads together until they touch with the cord at rest, then knot.
7. Cutting the cord or wire too short
Cause: cutting to the strung length to avoid waste. There is then nothing to hold while knotting or crimping.
Fix: for elastic, cut the strung length plus about 4 to 6 in (10 to 15 cm). For flexible beading wire, cut the finished length plus about 6 in (15 cm). A stop bead or a piece of tape on one end keeps beads from sliding off.
8. Not testing the fit before finishing
Cause: trusting the arithmetic alone. Bead sizes are approximate, so a count can land a little long or short.
Fix: wrap the strung, unfinished strand around the wrist while pinching the ends. Add or remove a bead now; after the knot or crimp it means starting again.
Finishing mistakes
9. Tying a weak knot
Cause: using a plain square knot or a single overhand knot on elastic. The cord is slippery and springy, and these knots work loose.
Fix: tie a surgeon’s knot: cross the ends and wrap twice instead of once, pull snug, then cross and wrap again. A small dot of flexible jewelry glue on the knot adds security. The full sequence is in the guide on how to tie off a stretch bracelet.
10. Cutting the tails too short
Cause: trimming flush against the knot for a tidy look. With nothing left beyond it, the knot can slip open.
Fix: leave tails of about 1/8 in (3 mm), let any glue dry fully, and slide the knot inside a neighboring bead with a hole large enough to hide it.
Tip
Plan the knot’s hiding place during the layout. Place a bead with a slightly larger hole, or a metal spacer, where the two ends will meet.
11. Crushing crimps with ordinary pliers
Cause: mashing a crimp tube as hard as possible with ridged household pliers. The tube cracks or leaves sharp corners that can cut the wire and catch on clothing.
Fix: use crimping pliers in two steps: crease the tube in the notched hole so that each wire sits in its own channel, then fold it closed in the rounded hole. If only smooth chain-nose pliers are available, flatten the tube once, firmly and evenly, and stop. Tug the wire to test the hold. See how to use crimp beads and crimp tubes for the complete method.
12. Pulling jump rings apart
Cause: opening a ring by pulling the ends away from each other. The circle is distorted and never closes cleanly again, leaving a gap for the clasp or charm to escape through.
Fix: hold the ring with two pairs of pliers, one on each side of the join, and twist one side toward you and the other away, like opening a door. Twist back the same way until the ends meet and click past each other slightly. More on this in the guide to clasps and jump rings.
Watch out
When a strand breaks, beads scatter. Work over a tray with a rim, and keep beads and findings away from young children and pets.
A quick check before calling a piece finished
- Does the strand curve freely without stiff spots or gaps?
- Does it fit when wrapped around the wrist or neck?
- Does the knot or crimp hold when tugged gently?
- Are all jump rings fully closed, with no visible gap?
- Are the tails trimmed and tucked out of sight?
The best way to make these checks automatic is to repeat a short project a few times. The easy elastic bead bracelet covers measuring, layout, tension and knotting in one sitting.
Frequently asked questions
Why does a stretch bracelet keep breaking?
The usual causes are cord that is too thin for the bead weight, a knot that slips, a bracelet strung too short so the elastic is always under tension, or rough bead holes wearing the cord. Match the cord to the beads, add ease to the wrist measurement and tie a surgeon's knot.
Why are there gaps between the beads on a bracelet?
Either the elastic was not pre-stretched and relaxed after the knot was tied, or the knot was tied with slack in the cord. Pull the cut cord firmly several times before stringing, and tie with the beads touching and the cord at rest.
What is the correct way to open a jump ring?
Hold the ring with two pairs of pliers, one on each side of the join, and twist one side toward you and the other away. Close it by twisting back. Pulling the ends away from each other distorts the circle so it no longer closes cleanly.
How long should the tails be after knotting elastic?
Leave about 1/8 in (3 mm) beyond the knot, let any glue dry fully, then slide the knot inside a neighboring bead with a hole large enough to hide it.