Beaded Bracelet with a Clasp: Beading Wire and Crimps Step by Step
A strung bracelet on flexible beading wire, closed with crimp tubes, a lobster clasp and a ring, with the length arithmetic shown in full.
Tutorial at a glance
Materials
- 21 round 6 mm beads, plus a few spares
- 6 round 4 mm metallic spacer beads, plus 1 or 2 spares
- Flexible beading wire, about 0.015 in (0.38 mm), 13 in (33 cm)
- 2 crimp tubes, 2 mm, plus spares
- 1 lobster clasp, about 12 mm
- 1 soldered ring or sturdy jump ring, about 6 mm
- Crimping pliers and wire cutters
- Bead stopper, binder clip or tape
- 2 crimp covers, 3 mm (optional)
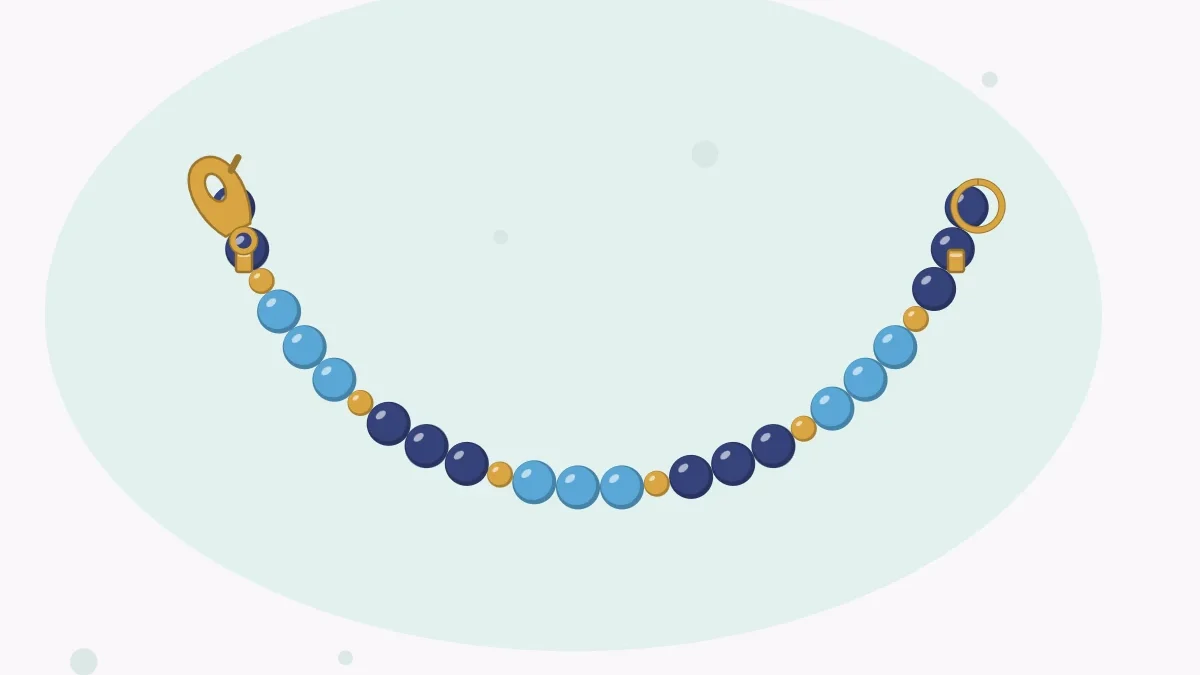
A beaded bracelet with a clasp is the natural next step after stretch cord. It is strung on flexible beading wire, which does not stretch or sag, and closed with two crimp tubes, a lobster clasp and a ring. The new skills are crimping and one piece of subtraction: the clasp takes up part of the length, so the beads must cover less than the full bracelet.
What you need
- 21 round 6 mm beads, plus 2 or 3 spares
- 6 round 4 mm spacer beads in a metallic finish, plus 1 or 2 spares
- Flexible beading wire, about 0.015 in (0.38 mm) in diameter, 13 in (33 cm)
- 2 crimp tubes, 2 mm, plus 2 spares for practice
- 1 lobster clasp, about 12 mm long
- 1 soldered ring or sturdy jump ring, about 6 mm
- Crimping pliers and wire cutters
- A bead stopper, binder clip or piece of tape
- A ruler and a bead mat
- Optional: 2 crimp covers, 3 mm, and chain-nose pliers to close them
If you have sensitive skin, check what a finding is made of before you buy. Beads and findings are small parts; keep them away from young children and pets.
Finished size and the length arithmetic
Start from the wrist. For 6 mm beads, the finished bracelet should be about 0.75 in (19 mm) longer than a snug wrist measurement, so a 6.25 in wrist needs a finished length of 7 in (178 mm). The guide on how to measure for jewelry shows where to place the tape.
Finished length is measured from the tip of the clasp to the far edge of the ring. The clasp section, meaning the lobster clasp, the ring, the two small wire loops and the two crimp tubes, adds up to roughly 1 in (25 mm) with the parts listed above. So:
- Finished length: 7 in (178 mm)
- Minus the clasp section: about 1 in (25 mm)
- Beaded length: about 6 in (152 mm)
The pattern is three 6 mm beads followed by one 4 mm spacer, starting and ending with a group of three. That gives seven groups of three and six spacers: 21 × 6 mm = 126 mm, plus 6 × 4 mm = 24 mm, for a beaded length of 150 mm (5.9 in). With the clasp section, the bracelet finishes at about 175 mm, a little under 7 in.
Resizing
Clasps differ, so lay the clasp, ring and both crimps in a line and measure them before trusting the 1 in figure. To change the size, add or remove one 6 mm bead at each end of the strand. Each pair changes the length by 12 mm, close to half an inch: end groups of four give a bracelet of about 7.4 in (187 mm), and end groups of two give about 6.4 in (163 mm).
Step by step
- Cut the wire. Cut 13 in (33 cm): the 7 in finished length plus about 6 in (15 cm) of working room.
- Lay out the beads. Arrange the pattern in a row on the mat and check that it measures about 6 in (150 mm).
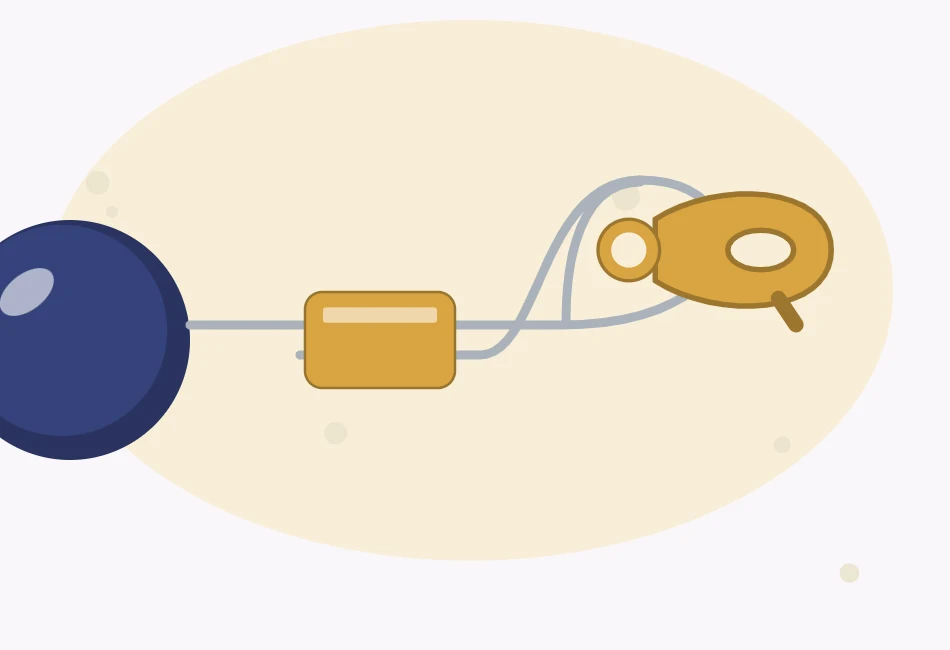
- Thread the first crimp. String one crimp tube, then the loop of the lobster clasp. Bring the wire end back through the crimp tube in the opposite direction, leaving a tail of about 1 in (25 mm).
- Size the loop. Slide the crimp toward the clasp until the wire loop is about 2 to 3 mm across. The clasp should swing freely; a loop pulled tight against the clasp wears the wire.
- Crimp it. Make sure the two wires lie side by side inside the tube without crossing. Squeeze the tube in the notch nearer the handles of the crimping pliers to crease it, then turn it a quarter turn, move it to the front notch and squeeze again to fold it closed.
- Test it. Tug the clasp and the wire firmly in opposite directions. If the wire slides, cut the crimp off and repeat with a new tube.
- String the beads. Add the beads in order, passing the first three or four over both the main wire and the short tail so the tail is hidden. Clip the open end if the work is set down.
- Thread the second crimp. String the second crimp tube and the ring, then pass the wire back through the crimp and through the last two or three beads.
- Set the tension. Pull the tail until the beads sit together, then ease off so that about 1 to 2 mm of slack remains in the strand and the end loop is again about 2 to 3 mm across. Curve the bracelet into a circle to check that it bends without stiffness.
- Crimp and trim. Crimp the second tube as before, test it, and cut the tail flush where it comes out of a bead.
Watch out
Do not string the bracelet tight. A strand with no slack cannot curve around the wrist, and the strain goes straight to the crimps and the wire beside them.
Getting the crimp right
The first squeeze presses a crease down the middle of the tube, ideally with one wire on each side. The second squeeze folds the creased tube in half along that line, leaving a small, rounded cylinder. Squeezing the tube flat with ordinary pliers can also hold, but the result is less neat.
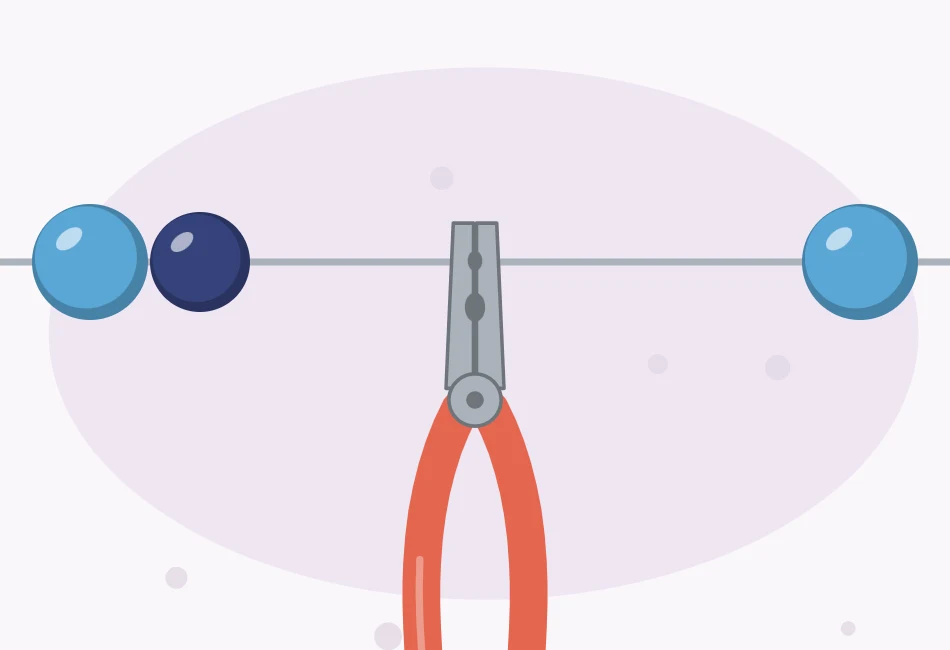
Practice on a spare tube and a scrap of wire first. Crimp size has to match the wire, and the guide on how to use crimp beads and crimp tubes covers the pairings as well as crimp covers.
Tip
A soldered ring has no gap, so thin beading wire cannot slip out of it. If only an open jump ring is on hand, choose a thick one and close it so the ends meet exactly.
If this happens, do that
- The wire pulls out of the crimp. The tube is too large for the wire, or the wires crossed inside it. Use a 2 mm tube with wire of about 0.015 in and keep the strands parallel.
- The bracelet is too short to close comfortably. Add a second ring to the first as a short extender rather than restringing. The different ring types are described in the guide to jewelry clasps and jump rings.
Variations
The same construction suits almost any strung design. Use 8 mm beads alone, in which case the finished length should grow to the wrist plus about 1 in: 7.25 in for a 6.25 in wrist, which leaves about 6.25 in (159 mm) of beads, or 20 beads of 8 mm. For a strung bracelet with no clasp at all, try the memory wire bracelet.
Frequently asked questions
How long should the beaded part be on a bracelet with a clasp?
Subtract the clasp section from the finished length. A lobster clasp, a ring and two crimps take up roughly 0.75 to 1 in, so a 7 in bracelet has about 6 in (152 mm) of beads.
How much beading wire should be cut for a bracelet?
The finished length plus about 6 in (15 cm). For a 7 in bracelet that is 13 in (33 cm), which leaves enough wire at each end to thread back through the crimp and a few beads.
Can a crimp tube be closed with regular pliers?
It can be squeezed flat with chain-nose pliers, but crimping pliers give a neater and more secure result because they crease the tube and then fold it into a small rounded shape.
Why does the bracelet need slack before the second crimp?
A strand strung with no slack cannot curve around the wrist. Leaving about 1 to 2 mm of room lets the beads move and takes strain off the wire and crimps.