Beading for Beginners: What You Need to Make Your First Piece
The handful of supplies and tools a first beading project really needs, the three ways beaded jewelry is held together, and a sensible order of first projects.

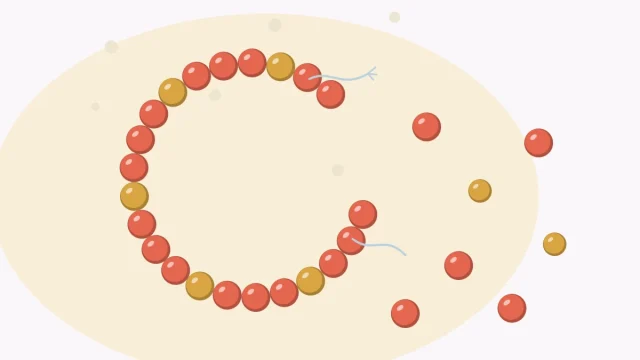
Beading for beginners comes down to three choices: which beads to use, what to string them on, and how to hold the ends together. Everything else is detail that can wait. A first piece needs a small bag of beads, one stringing material, something to cut with and a soft surface to work on, and it can be finished in a single sitting.
This page is the roadmap. It lists the supplies a first project really needs, explains the three ways beaded jewelry is fastened, and suggests an order of projects so each new piece adds one skill at a time.
The short shopping list
Craft aisles are full of tempting extras. For a first bracelet, this is enough:
- Beads: one strand or bag of 6 mm round glass beads, about 40 pieces. A 7 in (18 cm) bracelet uses about 30, and the rest are spares.
- One stringing material: clear elastic cord, 0.7 to 0.8 mm thick, is the easiest starting point because it needs no clasp.
- Something to cut with: sharp scissors for elastic, thread and cord. Wire cutters are only needed once beading wire or headpins come into the picture.
- A bead mat: a piece of soft, slightly fuzzy fabric that stops beads from rolling. A folded hand towel or a square of felt works too.
- A ruler or tape measure: every project starts with a measurement.
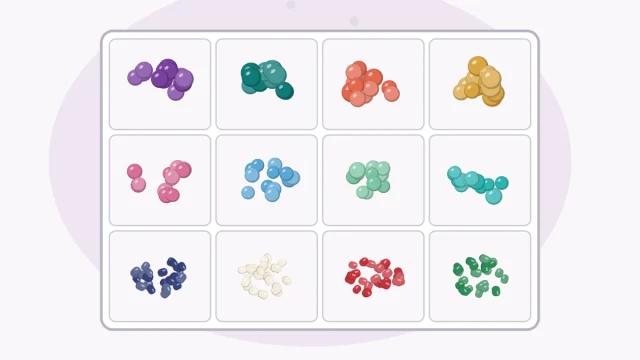
Round 6 mm beads are a good first size: large enough to pick up easily, small enough to look neat on most wrists, and simple to count. The guide to types of beads covers materials and shapes in detail, and the bead size guide explains how many beads fill a given length.
Tools worth buying next
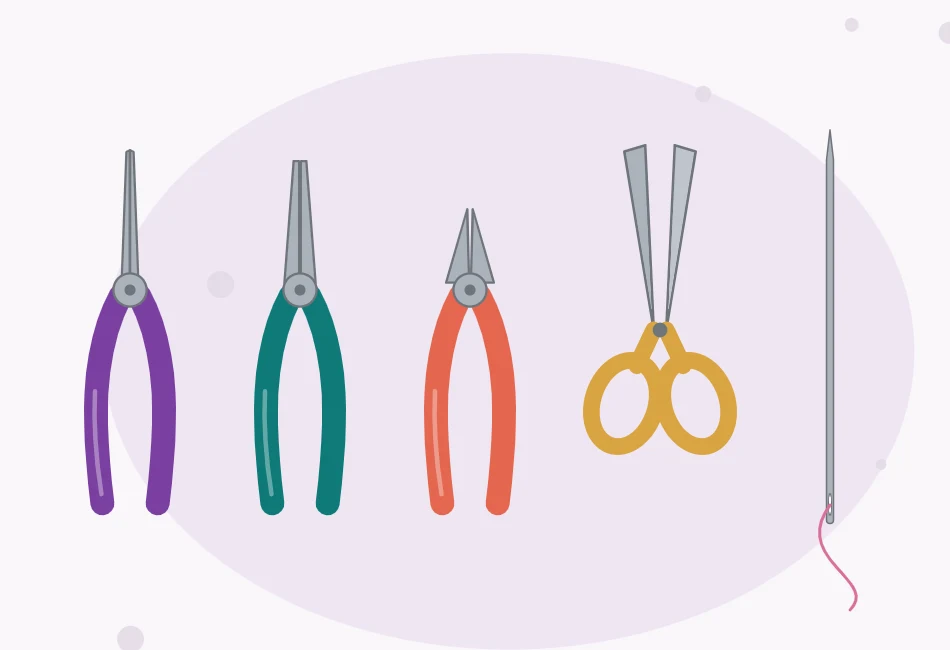
Pliers are not needed for a stretch bracelet, but most other projects use them. Two pairs cover nearly everything a beginner does with wire and findings (the small metal parts such as clasps, rings and pins).
- Chain-nose pliers: smooth, flat jaws that taper to a point. They grip, bend sharp angles, open and close rings, and flatten crimps.
- Round-nose pliers: two cone-shaped jaws used for one job, rolling wire into loops.
- Wire cutters: flush cutters leave one flat side on the cut. Use them for beading wire and headpins, never for memory wire, which needs heavy-duty cutters.
- A beading needle: a long, thin needle with a narrow eye, used with thread for seed beads.
Tip
Choose jewelry pliers with smooth jaws. Household pliers have ridged jaws that leave marks on wire and findings.
Three ways beaded jewelry is held together
Nearly every beaded piece is closed in one of three ways. Knowing which one a project uses tells you what to buy and which skill to practice.
| Method | Used with | Tools | Typical first project |
|---|---|---|---|
| Knot | Elastic cord, thread, thicker cord | Scissors | Stretch bracelet |
| Crimp | Flexible beading wire | Wire cutters, crimping or chain-nose pliers | Bracelet or necklace with a clasp |
| Wire loop | Headpins, eye pins, craft wire | Round-nose pliers, chain-nose pliers, wire cutters | Drop earrings or a pendant |
Knots
A knot is the simplest closure. Elastic is tied with a surgeon’s knot, which wraps twice so it grips the slippery cord, and the knot is then tucked inside a neighboring bead. Thicker cord can also carry decorative knots between the beads.
Crimps
Beading wire is too springy to knot, so it is locked with a crimp: a tiny metal tube that is squeezed shut around the wire after it has looped through a clasp. Crimped pieces drape well and suit heavier beads.
Wire loops
A bead threaded on a headpin becomes a hanging drop once the wire above it is bent and rolled into a loop. A simple loop uses about 3/8 in (10 mm) of wire above the last bead. Loops connect to ear wires, chains and jump rings.
The comparison of stringing materials shows which cord or wire pairs with each of these closures.
A suggested order of first projects
Each step below repeats what came before and adds one new skill.
- A stretch bracelet. Measuring, adding ease, counting beads and tying a secure knot. The easy elastic bead bracelet is written as a first project and takes about 20 minutes.
- A stacked set or a patterned bracelet. The same knot, with smaller beads and a repeating color pattern to plan.
- Drop earrings. The simple wire loop, made twice so that the pair matches.
- A bracelet with a clasp. Beading wire, crimp tubes and the length arithmetic for a clasp section.
- A necklace. A longer strand planned symmetrically from the center outward.
- A small woven piece. Needle, thread and seed beads, starting with ladder stitch.
Habits that make every project easier
Measure, then add ease
A bracelet strung to the exact wrist measurement will be too tight, because the beads take up room on the inside of the circle. The rule used throughout this site is strung length = body measurement + about three times the bead diameter. For a 6.25 in wrist and 6 mm beads, that is 6.25 + 0.75 = 7 in (178 mm), and 178 mm divided by 6 mm gives about 30 beads.
Lay the beads out first
Arrange the whole design in a row on the mat before stringing anything. Swapping two beads on a mat takes a second; swapping them on a finished strand means restringing.
Keep spares and work over a tray
Buy a few more beads than the count calls for. Hole sizes vary a little within a batch, and one or two beads may be chipped or blocked. A tray with a rim under the mat catches whatever rolls away.
Watch out
Beads and findings are small parts. Keep them away from young children and pets, and supervise children who are beading.
What to skip for now
Bead looms, large tool kits, specialty pliers and bulk assortments can all wait. So can reading about every technique: bead stringing alone covers bracelets, necklaces and anklets, and it is the foundation for the rest. Start with one bracelet, wear it for a few days, and notice what you would change. That observation is the best guide to the second project.
Frequently asked questions
What do beginners need to start beading?
For a first stretch bracelet: about 40 round 6 mm beads, clear elastic cord 0.7 to 0.8 mm thick, sharp scissors, a ruler and a bead mat or a piece of felt. Pliers and wire cutters are only needed once a project uses beading wire, clasps or headpins.
What is the easiest piece of beaded jewelry to make first?
A stretch bracelet on elastic cord. It needs no clasp and no pliers, and it teaches the skills every later project relies on: measuring, adding ease, counting beads and tying a secure knot.
Which pliers should a beginner buy?
Chain-nose pliers for gripping, bending and opening rings, and round-nose pliers for rolling wire into loops. Add flush wire cutters when you begin working with beading wire or headpins. Choose jewelry pliers with smooth jaws so they do not mark the metal.
How many beads are needed for a bracelet?
Divide the strung length in millimeters by the bead diameter. A 7 in (178 mm) strand takes about 30 beads of 6 mm, about 22 beads of 8 mm or about 44 to 45 beads of 4 mm. Buy a few spares.