Brick Stitch Earrings: A Small Seed Bead Triangle
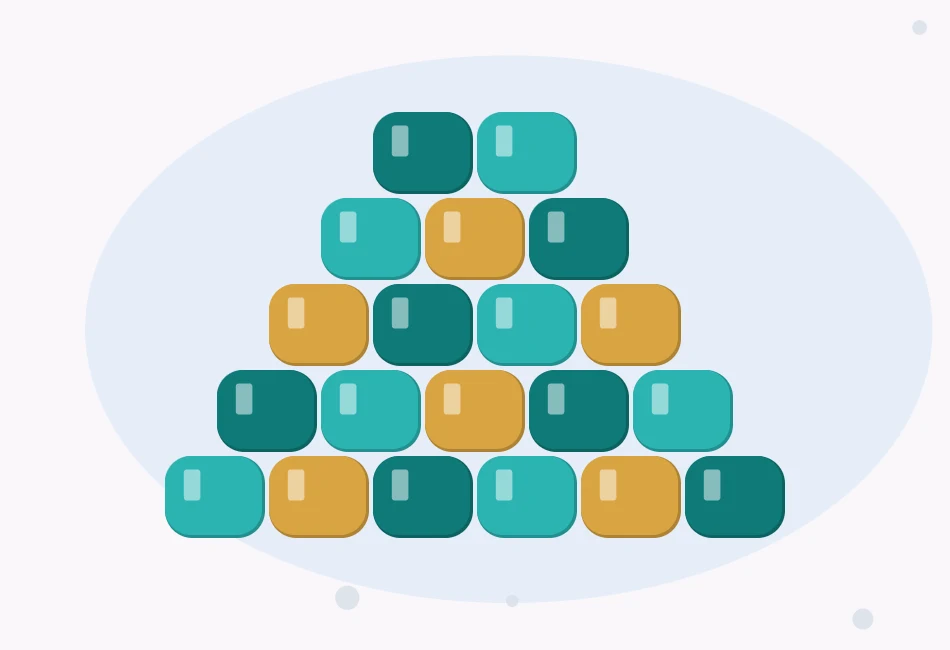
A ladder stitch base of six seed beads, four decreasing brick stitch rows and a small bead loop make a neat triangle earring. The thread path is explained row by row.

Tutorial at a glance
Materials
- About 50 size 11/0 seed beads, plus spares
- Nylon beading thread, about 30 in (75 cm) per earring
- Size 10 or size 12 beading needle
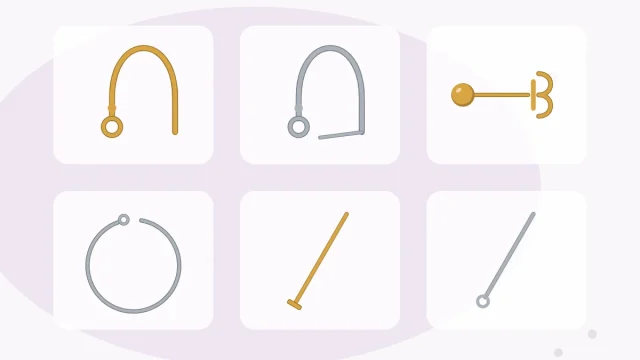
- 2 hook ear wires
- Chain-nose pliers
- Small sharp scissors and a bead mat
Brick stitch earrings are a good first step from stringing into bead weaving: the piece is tiny, the thread path repeats, and the shape forms by itself. This pair is a small seed bead triangle, built on a base row of six beads with four shorter rows stacked above it and a little loop of beads at the tip for the ear wire.
What you need
- About 50 size 11/0 seed beads (25 per earring), plus a few spares of even size
- Nylon beading thread, about 30 in (75 cm) per earring
- A size 10 or size 12 beading needle
- 2 hook ear wires
- Chain-nose pliers, small sharp scissors and a bead mat
The guide on how to thread a beading needle covers the setup. Work with a single thread, not doubled, so several passes fit through each small bead.
Bead count and finished size
The triangle has rows of 6, 5, 4, 3 and 2 beads: 6 + 5 + 4 + 3 + 2 = 20 beads. The hanging loop adds 5, so each earring uses 20 + 5 = 25 beads and the pair uses 50.
Size 11/0 seed beads are about 2 mm wide, so the six-bead base is roughly 1/2 in (12 mm) across. In brick stitch the holes run up and down, and each bead is only about 1.5 mm long through the hole, so five rows stand about 7 to 8 mm tall. With the loop the triangle is close to 3/8 in (10 mm) high. Seed beads vary by maker, so check six of them against a ruler. For larger earrings, a base of 8 gives rows of 8, 7, 6, 5, 4, 3 and 2, which is 35 beads plus the loop.
Step 1: The ladder stitch base row
The base is a row of six beads side by side with their holes parallel. The short spans of thread between neighboring beads are called thread bridges, and the next row hangs from them.
- Join the first two beads. Pick up 2 beads and slide them down, leaving a 6 in (15 cm) tail. Pass the needle through the first bead again, in the same direction as before. Pull gently: the beads swing round to sit side by side. Pass through the second bead again to steady the pair.
- Add the third bead. Pick up 1 bead. Pass through the bead the thread is coming out of, entering at the end opposite the thread, so the thread makes a circle. Then pass through the new bead.
- Finish the row. Repeat for beads four, five and six. The thread comes out of the top of one bead and the bottom of the next.
- Turn the row. Hold the ladder so the working thread comes out of the top of the end bead. The ladder is the same on both edges, so simply flip it if the thread is pointing down. There are five thread bridges along the top edge.
Step 2: The brick stitch rows
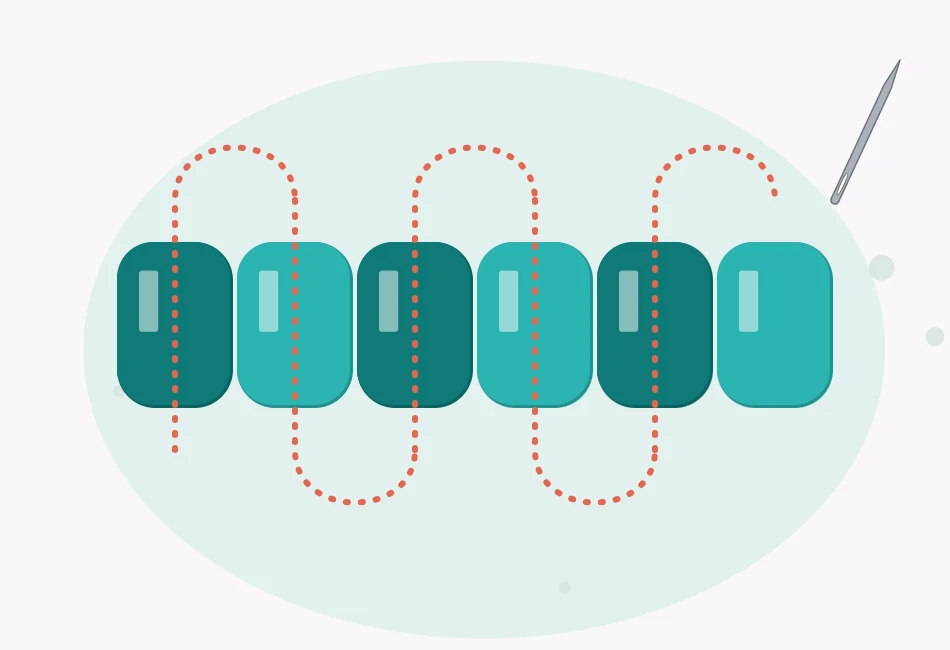
Every brick stitch row here starts with a pair of beads and continues with single beads. Each bead ends up centered over a thread bridge, straddling two beads of the row below, like bricks in a wall.
- Start the row of five. Pick up 2 beads. Skip the first thread bridge and pass the needle under the second one, from back to front. Pass back up through the second bead just added. The pair now sits over the first two bridges. To stop the first bead tipping, pass down through it and up through the second bead again.
- Add single beads. Pick up 1 bead, pass the needle under the next thread bridge from back to front, and pass back up through the bead. Pull until it sits upright beside its neighbor. Do this three times, using the third, fourth and fifth bridges. The row has 2 + 3 = 5 beads.
- Work the row of four. The thread comes out of the top of the last bead, and the row of five has four bridges. Working back in the other direction, start with a pair (skip the first bridge, go under the second, back up through the second bead), then add 2 single beads: 2 + 2 = 4.
- Work the row of three. Three bridges are available. Start with a pair, then add 1 single bead: 2 + 1 = 3.
- Work the row of two. Two bridges are left. Pick up 2 beads, pass under the second bridge and back up through the second bead. That pair is the whole row.
Tip
Catch only the thread bridge with the needle, never the thread inside a bead. Pull each stitch snug, then stop: thread pulled too hard makes the triangle curl.
Step 3: The loop and the finish
- Make the loop. The thread comes out of the top of one of the two tip beads. Pick up 5 beads and pass down through the other tip bead.
- Reinforce it. Pass up through the first tip bead, through the 5 loop beads once more, and down through the second tip bead.
- Weave in the working thread. Pass down through a bead in the row of three, up through its neighbor, and continue in a zigzag through three or four more beads, changing direction at least twice. Trim the thread close to the beadwork.
- Weave in the tail. Thread the starting tail onto the needle and zigzag it up through the rows in the same way, then trim.
- Add the ear wire. With the chain-nose pliers, twist the loop of the ear wire open sideways, slip it through the bead loop and twist it shut. The triangle hangs point up with the wide base at the bottom.
Make the second earring the same way. Other ear wire styles are compared in the earring findings guide.
If the triangle goes wrong
| Problem | Cause | Fix |
|---|---|---|
| A row has as many beads as the row below | The pair was started under the first bridge, so the first bead hangs over the edge | Undo the row and skip the first bridge |
| The needle will not pass | The hole is full of thread | Do not force it; weave through a different bead, or switch to a size 12 needle |
Watch out
Seed beads and needles are small parts. Keep them away from young children and pets, and store the needle in a case.
Where to go next
Change the color row by row for stripes. Keeping each color in its own labeled container makes that easier; see how to organize beads. To see how this stitch compares with ladder, peyote and daisy stitch, read bead weaving basics; the Wikipedia article on brick stitch gives more background on the technique.
Frequently asked questions
How many beads are in a brick stitch triangle with a base of six?
Rows of 6, 5, 4, 3 and 2 beads add up to 20. A five-bead hanging loop brings each earring to 25 beads, so a pair needs about 50 size 11/0 seed beads plus a few spares.
Why does each brick stitch row get shorter?
Each bead hangs from a thread bridge between two beads of the row below, and a row of six beads has only five bridges. Starting each row under the second bridge keeps the first bead inside the edge, so the row is one bead shorter.
What thread and needle suit size 11/0 seed beads?
A fine nylon beading thread used single, with a size 10 beading needle. A size 12 needle is thinner and helps when a bead already holds several passes of thread.
How is the thread finished without a visible knot?
Weave it back through the beadwork in a zigzag, changing direction at least twice, then trim it close. The changes of direction hold the thread in place.